Disclosure: This content may contain affiliate links. Read my disclosure policy.
A short y-shaped hike with a healthy amount of elevation gain.
Trailhead info at bottom of this post.
The hike to Cascade and Porter is regarded as one of the easiest 46er hikes — but the trail is rated moderate and, in spots, is a little challenging.
This hike offers a taste of high-mountain adventure suitable for both seasoned trekkers and determined novices. While the path to these peaks is often celebrated for its ease relative to its counterparts, this hike holds its own with sections that will challenge your resolve and reward your efforts in equal measure.
In fact, this hike has one of the highest scenery-to-effort paybacks I’ve ever experienced. This an amazingly rewarding hike.
BTW, a longer new trail to Cascade Mountain is nearing completion.
BTW, you might also enjoy…
- UPDATED › Best Bug Spray & Bug Repellent for Hikers
- CATSKILLS › Peakbagging The Catskills High Peaks (Ultimate Guide)
- STAY › Find Your Perfect Catskills Stay
- ADIRONDACKS › Wright, Algonquin & Iroquois Peaks
- LEARN › Teach Yourself How to Use a Compass
- ENTERTAINMENT › Best & Worst Hiking Movies
- Follow › My Instagram @TotalCatskills
- Follow › My Substack @TotalCatskills
- Follow › My writing for Times Union
Cascade and Porter Parking
The four small roadside lots on this section of Route 73 also serve the very popular Lake Placid 9er hike to Pitchoff Mountain. In the warmer months, Route 73 gets crazy. To snag a spot, you may need to arrive before dawn.
Cascade & Porter Hike
On this day, in November, I didn’t need microspikes to hike up to Cascade’s amazing summit. However, as soon as I stepped on the trail to Porter, I had to put on my spikes. From October to June in the Adirondacks, you should always hike with mountain-worthy traction for when it’s needed. (And it will be needed.)
The Cascade & Porter hike includes…
- Muddy trails
- Slippery rocks
- Lots of blowdown
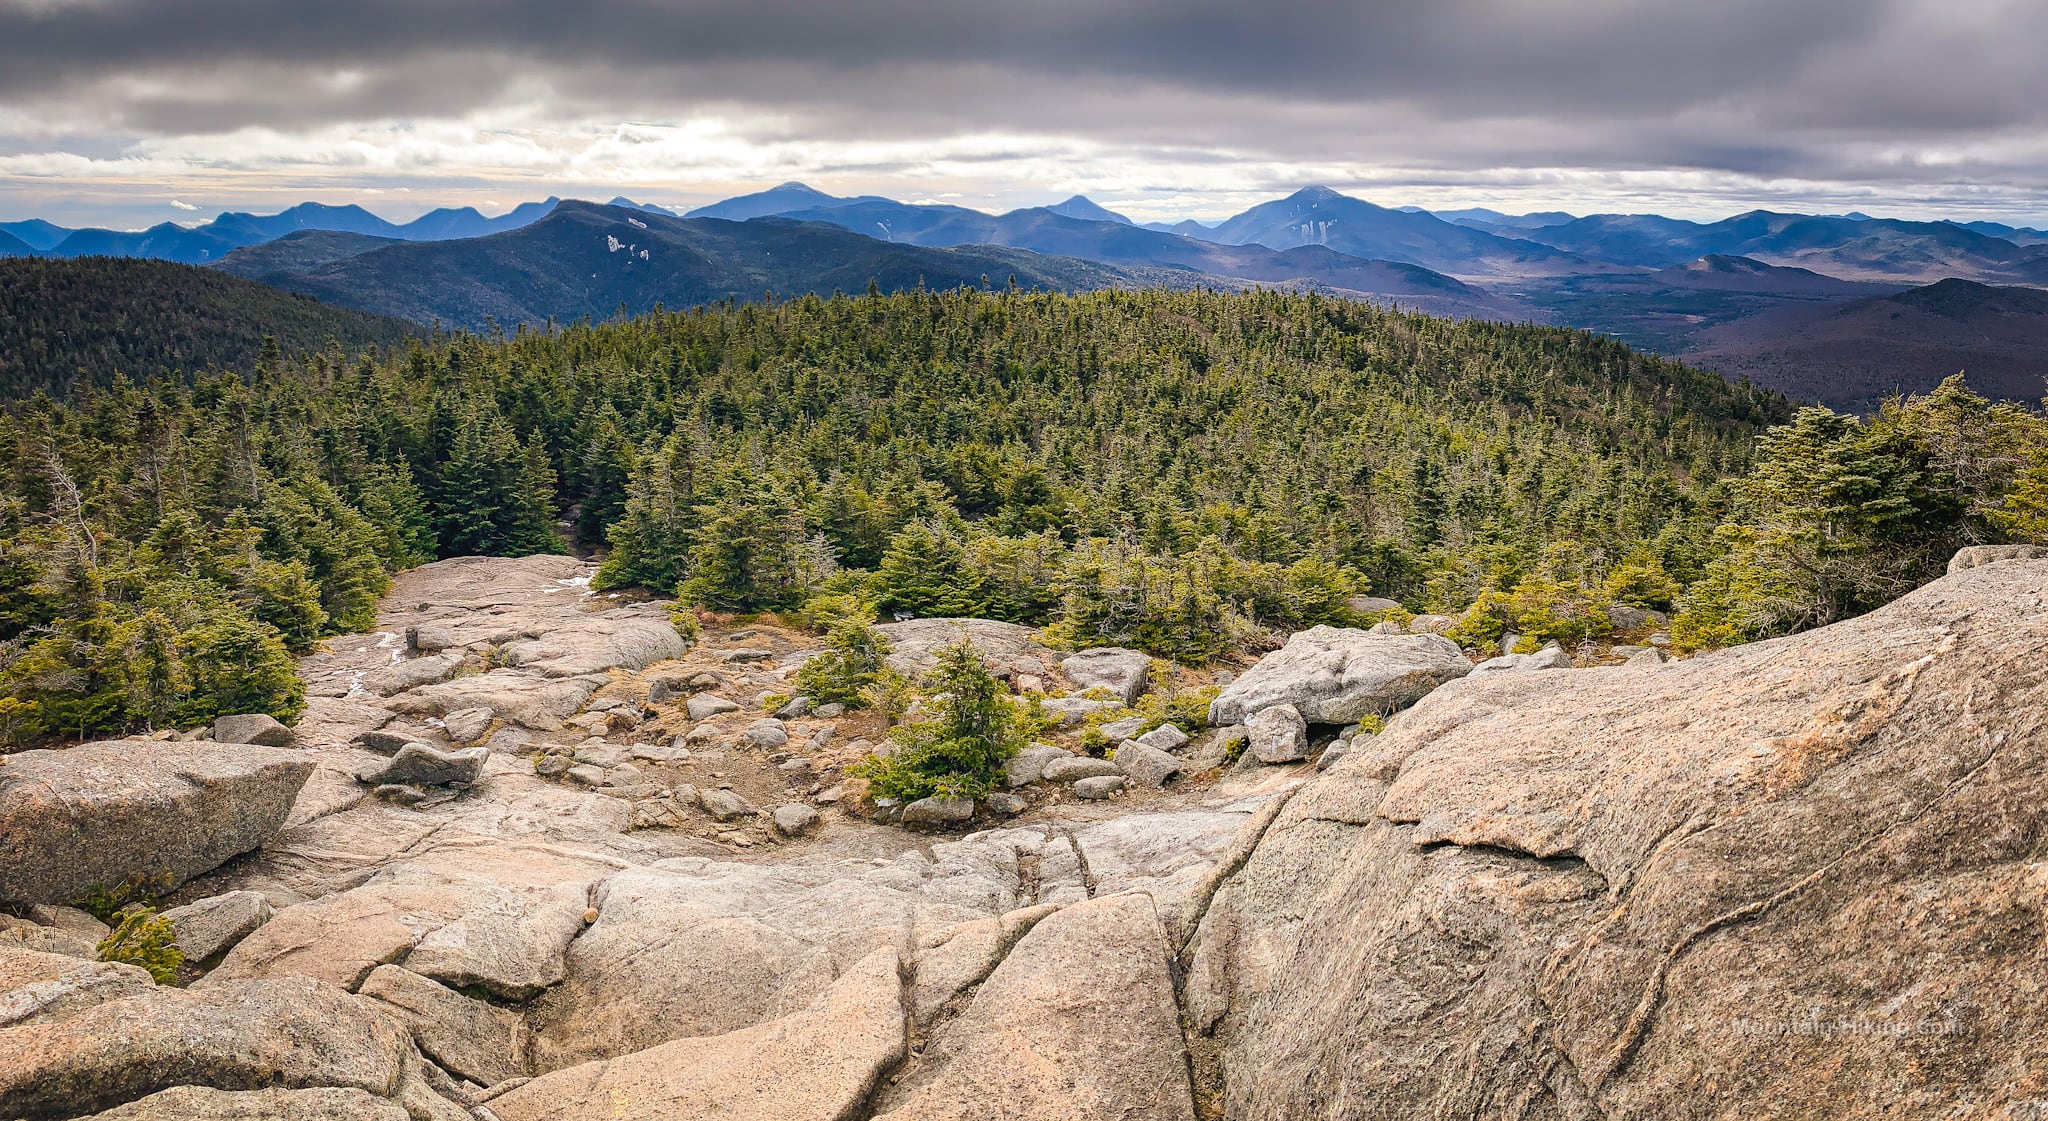
- Extremely exposed summit on Cascade
- Astonishing Adirondack High Peaks views
- A great introduction to high peaks hiking
A full breakdown is provided in the hike notes below, with 3 videos and 25 breathtaking photos.
Cascade and Porter Hike Time
Allow 4-5 hours for this hike.
Cascade and Porter Elevation Gain
The elevation gain for this hike is just under 2,300 feet (apx 700 meters).
Cascade & Porter Hike Notes & Gallery
Make your way down from the roadside to the Adirondack High Peaks Wilderness Area trail register and sign in.
Follow the red blazes. There aren’t too many so keep an eye out for then. The trail is mostly obvious.
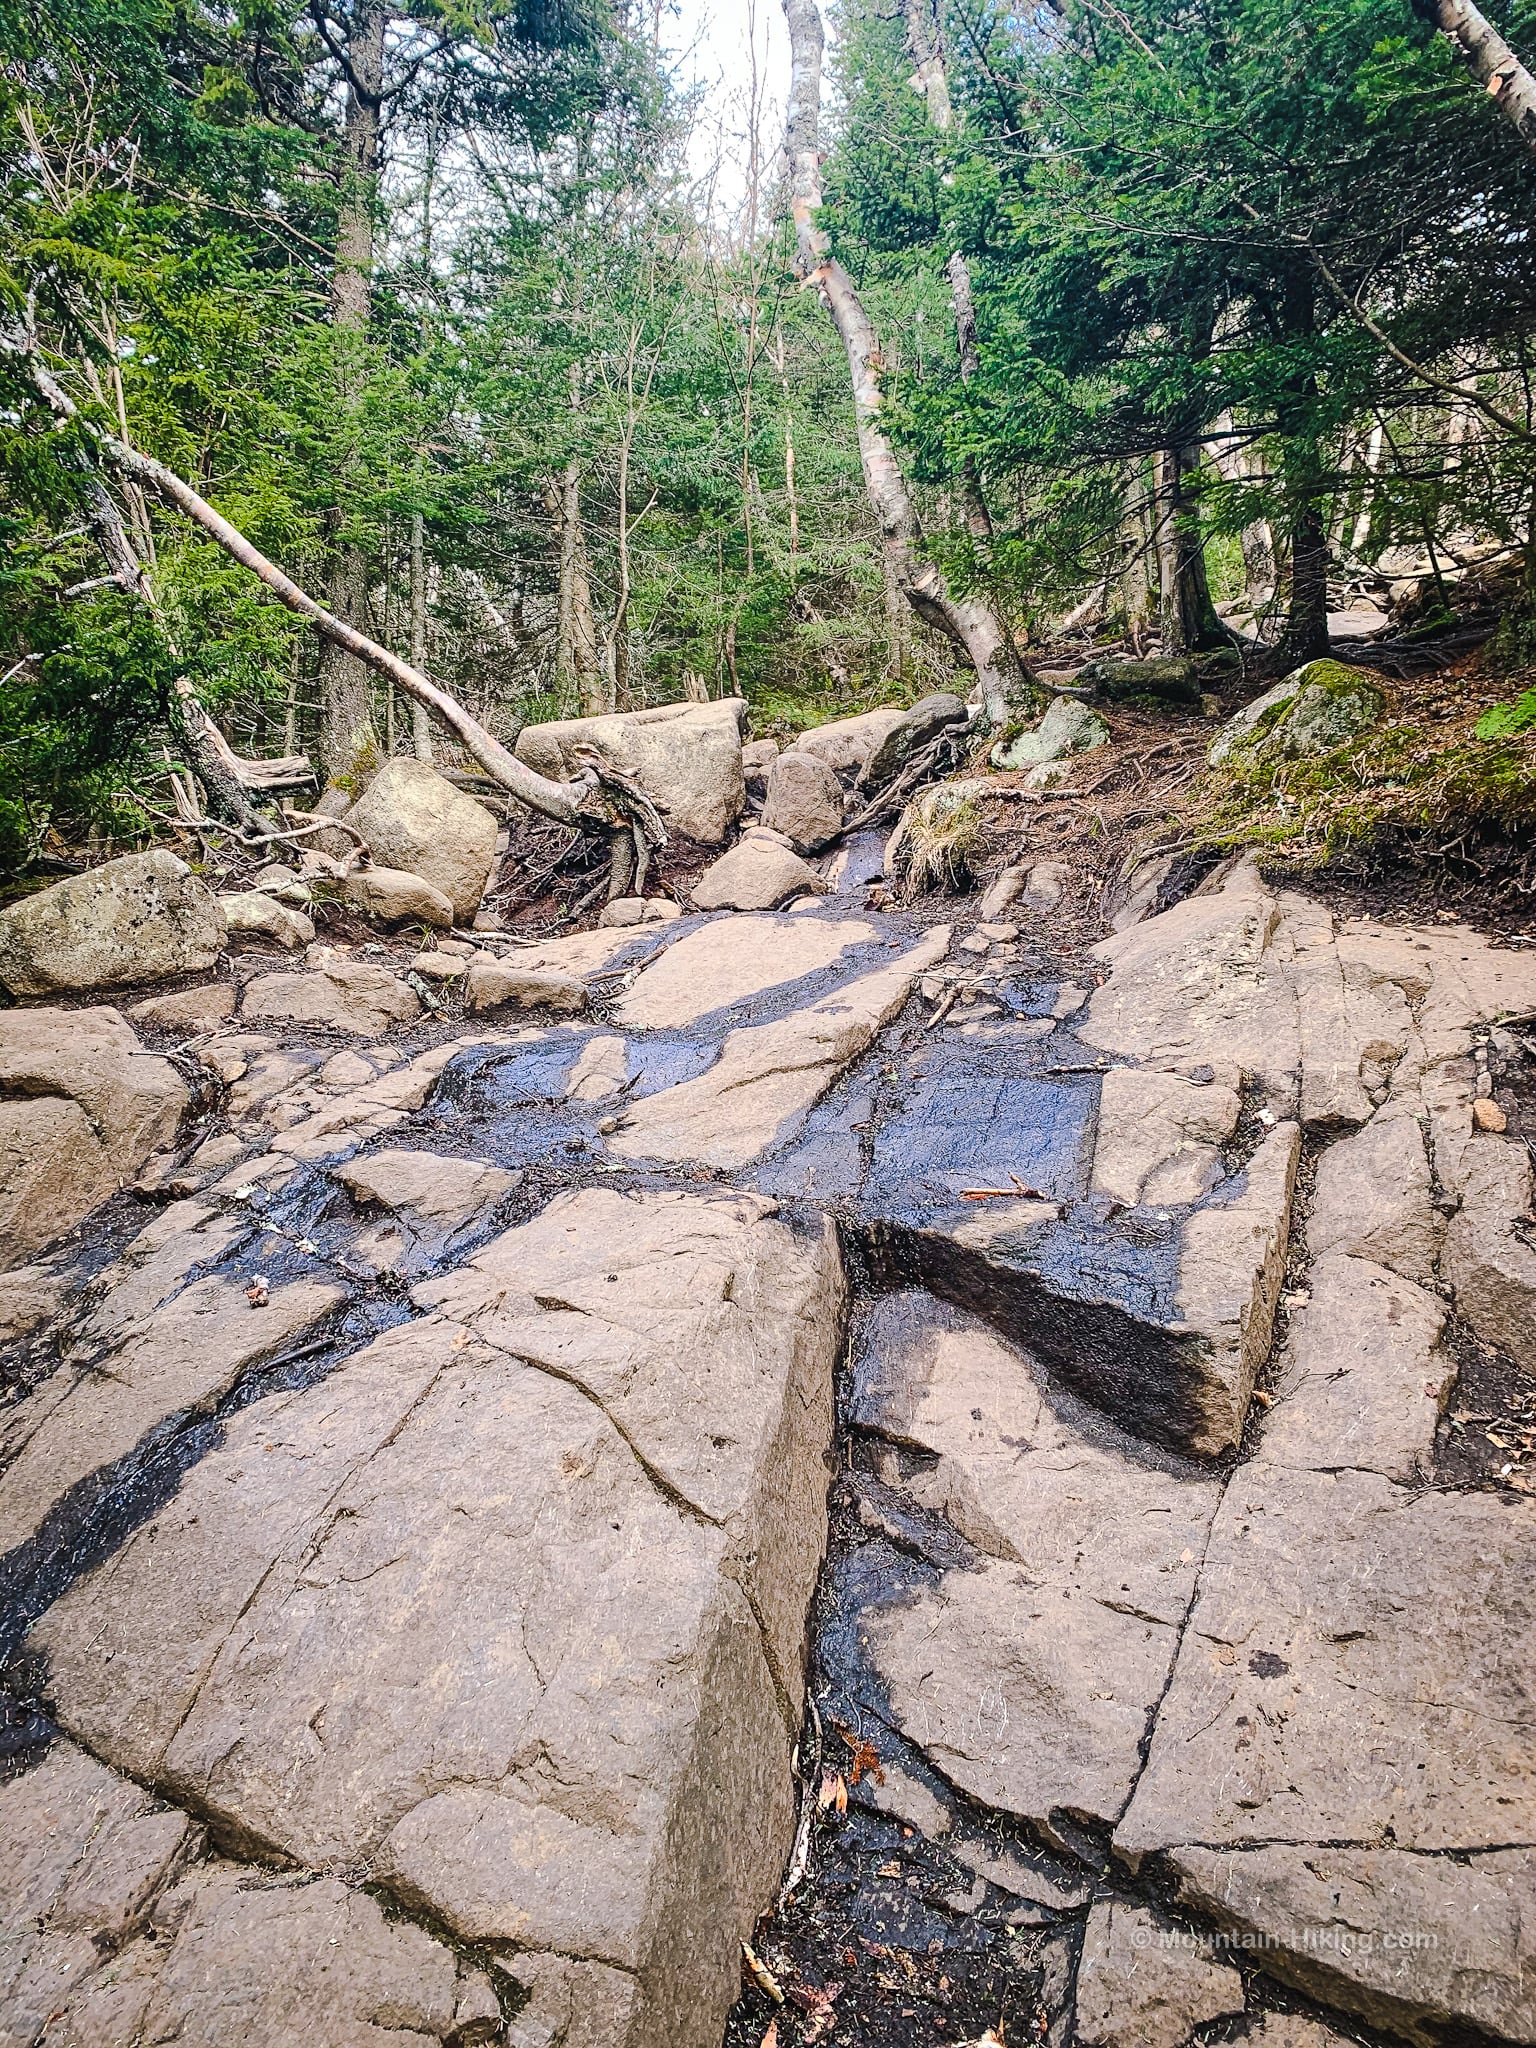
The trail alternates between mud and helpful stone staircases.
Higher up, the rock bed is exposed in spots along the trail and some sections take a minute to figure out how to climb safely…
At 3800’ (1150m) you’ll come to this dramatic section of open rock slab…
 You’ve got the basic details, but there’s so much more…
Unlock this site now to get complete intel on every route, including my full photo galleries, personal insights and tips. Elevate your next hike with deep trail beta. Experience hundreds of amazing routes at their absolute finest. With Mountain-Hiking.com, you’re not just skimming the surface.
Sean

One Last Wilderness Tip
Ben Lawhon is the education director for the Leave No Trace Center for Outdoor Ethics and he says, “Hikers can spread nonnative species, which is a huge cause of habitat destruction. By not taking plants or animals, and cleaning your hiking boots before you leave the trailhead, you can make a difference.”
Right before I drove away from this trailhead on Route 73, I brushed off all the dirt from my hiking boots and gaiters.
It’s a trick I came across online, and it means I’m not transporting any non-native seeds, or tiny hitchhikers, from one area to another.
To learn more, you can read PSA: Leave No Trace at the Trailhead.
Similar Hikes
Close by, and using the same trailhead, you can do a more difficult but equally stunning hike by hiking Balanced Rocks and Pitchoff Mountain.
Read More
Get full access…
Get instant access to the full version of this site and enjoy great supporter benefits: full galleries, full trail notes, early access to the latest content, and more.
Hot on the website right now…
Follow for more…
Follow my @TotalCatskills content on Instagram for regular hiking inspo and safe, inclusive community.

Cascade & Porter Hike Trailhead
Small roadside lot for an incredibly popular. In summer, you may have to get there before dawn to grab a spot.
Google Maps Location: 44.219149, -73.887257
The map below shows the exact topographic location of the trailhead
Cell Service
Service at trailhead and up high. In between, service comes and goes. My network is Verizon. YMMV.
The parent mountain for this hike is Cascade.